How to create headings and styles
Return to the video alternative.
Creating headings and styles
- Ensure no headings are included in a table. See the Tables section for how to create a table.
- Ensure all headings are concise.
- Ensure all headings are nested properly.
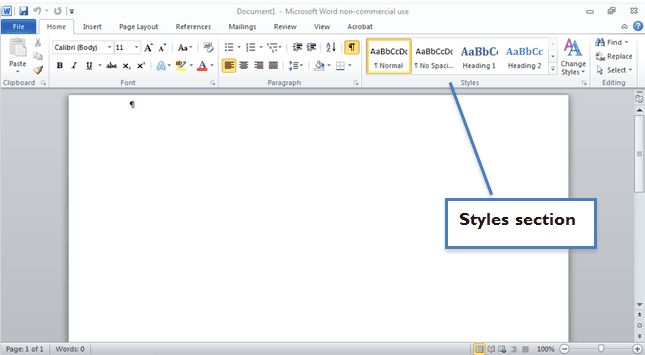
- Modify the following styles to match the styles used in your document (for more information on the recommended style specifications see Appendix 1: Styles)
- Heading 1, Heading 2, Heading 3 etc.
- Normal
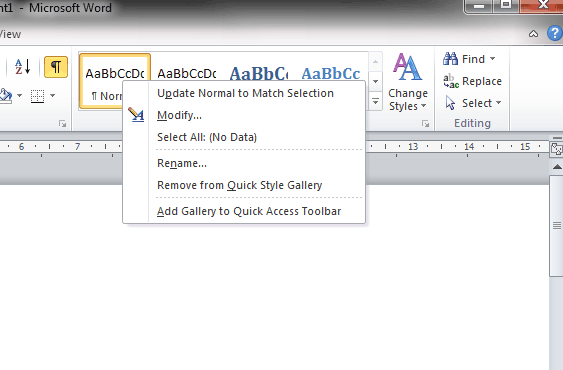
- Select the relevant text
- Right click the relevant style and select ‘Update Style to Match Selection’
Ensure all headings and text content are marked up with these styles.
Where styles do not update properly, you will need to remove the formatting and re-apply it.
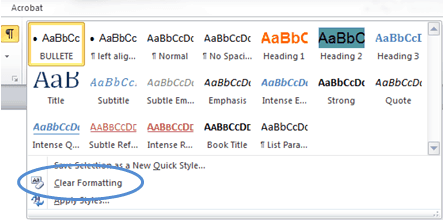
- Select the relevant text
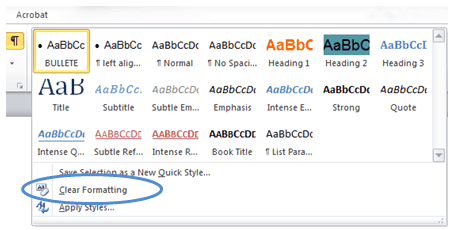
- Under the ‘Styles’ section select the drop-down arrow
- Select the option ‘Clear formatting’
Where you have headings or Figure text that must remain on the same page as the next line, use the Styles feature instead of page breaks to modify the content.
- Make sure you have no content selected in the document.
- Select the relevant style that needs to be used to ensure content stays together over page breaks.
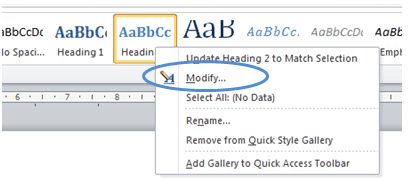
- Right-click the relevant Style in the ‘Styles’ tab.
- Select the ‘Modify…’ option.
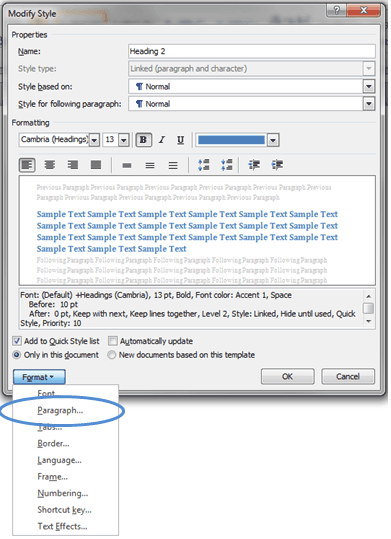
- Select the ‘Format’ button.
- Select the ‘Paragraph’ option.
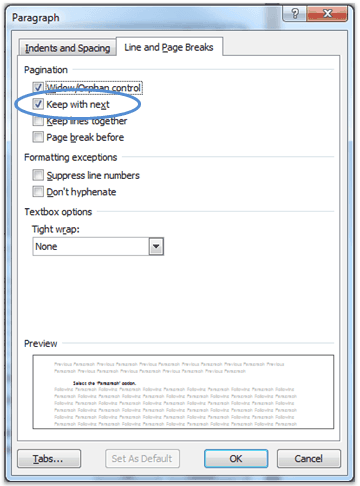
- Ensure the ‘Keep with next’ checkbox is selected.
If headings are missing from the Styles panel
Update the styles setting to display all the available styles.
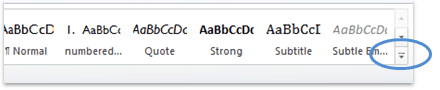
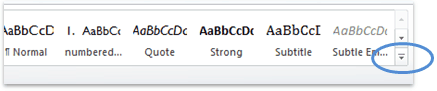
- Select the small arrow below the Styles section (see Figure below) or press ALT + CTRL + SHIFT + S.

The Styles dialog will display.
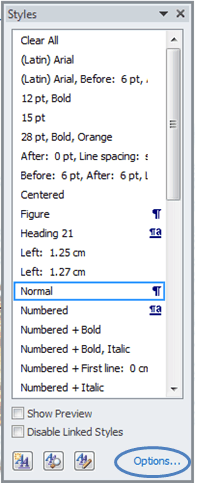
- Select Options.
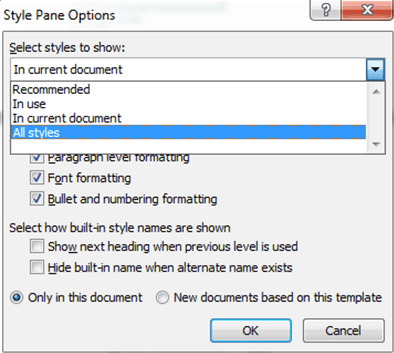
- Select ‘All styles’.
- Select ‘OK’.
Creating a new style
- Change the text formatting so that it fits the new style.
- Under the ‘Styles’ section select the drop-down arrow
- Select the option ‘Save Selection as a New Quick Style’
- Under the ‘Name’ section, give the new style a name.
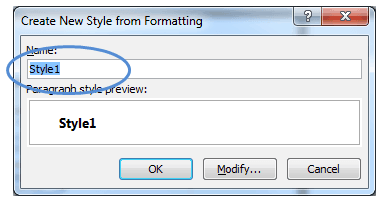
- Select ‘OK’.
Check that all headings are coded properly
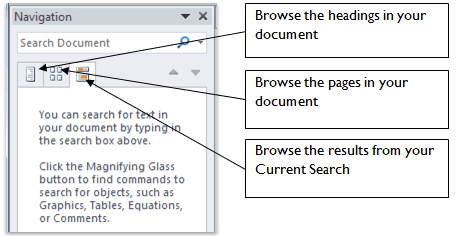
- Under the ‘View’ tab, switch on the “Navigation Pane”.
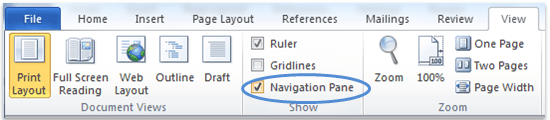
The Navigation Pane appears on the left hand side of the window and contains three options:
- Browse the headings in your document
- Browse the pages in your document
- Browse the results from your current Search